Replacing Rotten Timber Steps on a Sloped Yard
Got rotten timber steps on a sloped yard? Here’s how our crew replaces them with safer, more attractive options and tackles the project in budget-friendly stages.
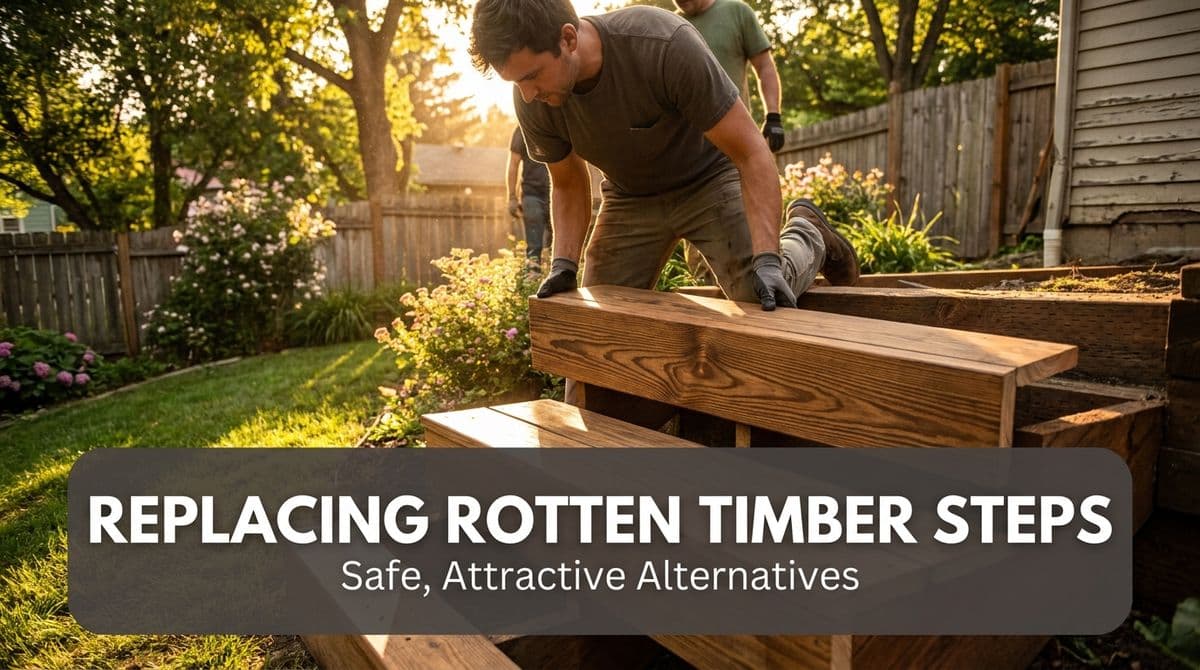
From Rotten Hillside Timbers to Safe Garden Steps
We recently got a call from a homeowner — let’s call her Linda — who had a classic sloped-yard headache. There was a steep hill in the back, a tired old paver patio at the bottom, and a run of 40-year-old timber steps going up the slope that were, in her words, “ramshackle” and “not something I’d recommend walking on.”
As she walked us through it, we heard all the red flags we listen for on these calls: rotting landscape timbers, green with mold and algae, loose pieces that snapped when she tapped them with her foot, and no truly safe way to get up into the yard. She loved gardening and dreamed of plateaus going up the hill with planting beds and a statue at the top — but the current steps were unsafe and frankly, an eyesore.
We told her what we tell a lot of clients in this situation: we can absolutely tackle this in stages, but we always start by making the hillside safe and functional. Then we build the pretty, personal touches on top of that solid backbone.
How We Approach Rotten Timber Steps on a Slope
When our crew meets a hillside like Linda’s, we follow a consistent process so we don’t miss anything important. We recommend homeowners walk through the same checklist as they think about their options.
First, we assess the existing timbers:
- Are any steps soft, spongy, or crumbling?
- Do the timbers move or rock when stepped on?
- Is there heavy moss, mold, or algae buildup?
- Is the hillside eroding around or under the steps?
If we can tap a step with our boot and it cracks or shifts, like Linda described, that tells us those timbers are beyond “minor repair” and into “full replacement” territory. We almost never recommend “just swapping the worst ones” in these situations; mixing old failing timbers with new materials usually means paying twice — once now, once when the rest finally give out.
Next, we look at the hill itself: the steepness, how water runs after a rain, and how the steps connect to other features like patios and doors. That helps us recommend materials and a layout that will stay solid and safe over the long term.
Safe, Attractive Alternatives to Old Railroad Ties
Linda knew she didn’t want to stick with the same old timbers, and we find a lot of our clients feel the same way. When we replace rotten wood steps on a slope, these are the materials we most often walk them through.
Natural Stone Steps
For homeowners like Linda who want a more natural look, we often suggest large stone “treads” cut specifically for steps. In our projects, we like stone because:
- It blends beautifully into a wooded or natural setting.
- It’s extremely durable and won’t rot or warp.
- Each piece can be set to correct height and depth for comfortable walking.
We typically set these on a compacted gravel base so they don’t shift over time. When we design garden “plateaus” between steps, stone also pairs nicely with low retaining walls and planting beds.
Concrete or Paver Steps
Where the look of the existing patio matters, our crew may recommend tying the new steps into that material. For example, if we decide with the homeowner to keep or update a paver patio, we can:
- Build segmental retaining wall block steps (not formal keystone if they prefer softer lines).
- Use concrete or paver treads with stone risers for a hybrid look.
This approach gives a very stable, code-friendly stairway that still feels natural if we choose the right color and style.
Modern Composite or Treated Wood
Sometimes, a homeowner still wants a wood feel, but without the rot and algae issues they’ve been fighting. When that fits the site, we talk about:
- Ground-contact rated treated lumber set on proper footings.
- Composite treads on a wood or steel frame for low maintenance.
We explain the tradeoffs: wood is usually more budget-friendly up front but needs more care; stone and block cost more initially but require less attention over the years.
Breaking the Project into Stages (Our Recommended Plan)
On Linda’s call, she was very clear: this might be a “fairly large job,” and she wanted to tackle it in stages. That’s exactly how we structure many hillside projects, and we walked her through the same phased approach we use on our own designs.
Stage 1: Safety and Access
We always recommend starting with what keeps everyone upright and out of the ER:
- Remove the rotten timbers and any loose debris.
- Shape the hill just enough to lay out a safe stair line.
- Install a solid run of steps at least partway up the hill — in Linda’s case, halfway was the initial goal.
- Add handrails or wider treads where the slope is steep or footing is tricky.
Once we have safe access, everything else on the hill — plantings, lighting, art — becomes easier and safer to install later.
Stage 2: Plateaus and Garden Spaces
With stairs in, we can come back for the “fun” phase. For clients like Linda who want gardens and art along the hill, our crew often:
- Creates small level terraces between groups of steps.
- Builds low retaining walls or stone edges to hold soil and define beds.
- Plans space for features like statues, benches, or focal plants.
We make sure the structure underneath (walls, edges, drainage) is done right so the gardens don’t slide or wash out after a heavy rain.
Stage 3: Patio and Lower Area Upgrades
On our call, the patio at the base of the hill was more of an afterthought for Linda. That’s common, and we handle it the same way: we include it in the overall design and estimate, but we separate it as its own phase.
When we return to address a patio, we typically:
- Check for drainage and settling issues near the house.
- Lift and reset pavers, or rebuild the base if things aren’t level.
- Match or update materials to tie into the new hillside steps.
This phased approach lets our clients prioritize budget where it matters most right now (safety and access) while still moving toward their long-term vision.
How We Help Homeowners Plan (and Budget) the Project
With Linda, we explained that our team would put everything into one master quote first — steps, plateaus, future patio work, and any planting or walls. Then we’d break that into clear phases so she and her husband could see:
- What absolutely needs to be done right away.
- What can wait a season or two.
- How each stage affects the total investment.
We encourage homeowners to share any inspiration photos or “non-traditional” ideas, just like Linda planned to do. Our designers and foremen keep those images handy so, even if we’re only building Stage 1 this year, we’re preparing the site for Stages 2 and 3 down the road.
If your own hillside steps feel as loose and green as the ones Linda described, we’d walk you through this same process: assess the slope, choose a safer material, design a phased plan, and build a stairway that’s not only safe, but something you’re proud to look at every day.