Homeowner’s Guide to Smart Koi Pond Projects
Learn how we help homeowners tackle koi pond tubing replacement, deepen ponds for winter, and safely clear overgrown stream banks in manageable project stages.
When a Broken Arm Meets a Half-Dug Koi Pond Project
We recently got a call from a homeowner — let’s call her Linda — who loves her backyard koi pond. She has a small pond with a stream and a couple of waterfalls, and she’d already started a big maintenance project: replacing the flexible tubing that runs from the pump up to the top of the falls.
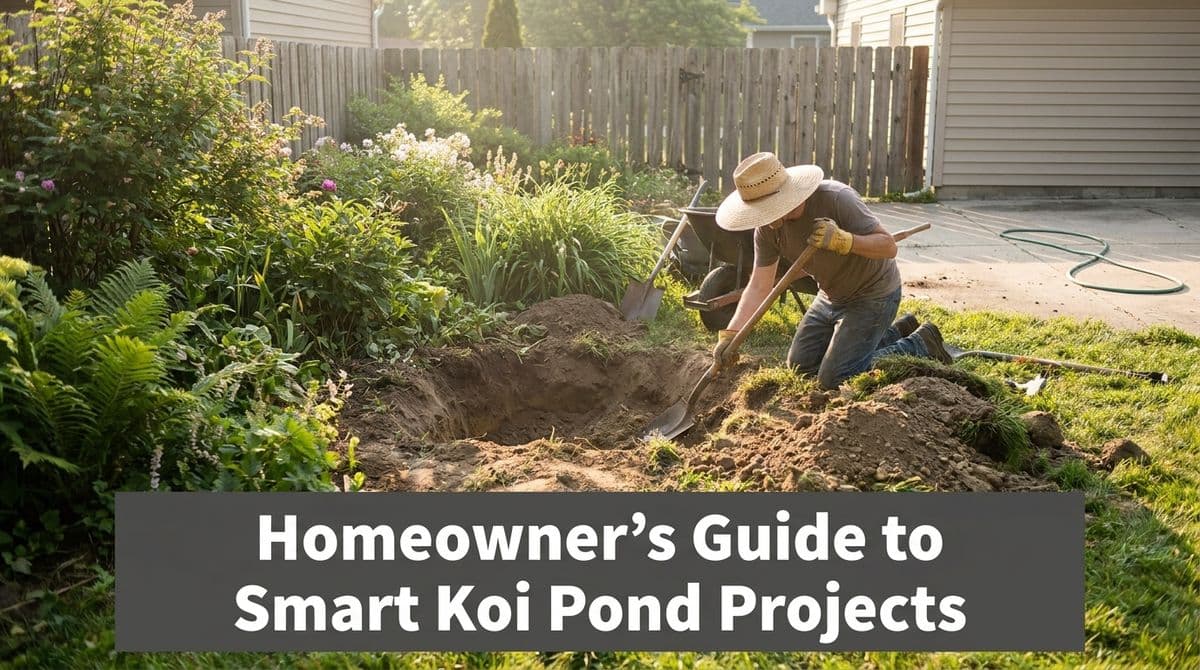
She had the trench about halfway dug — roughly 35 feet of a 70-foot run — when she broke her arm. The fish were already in the pond, she had aeration going, but she really wanted those waterfalls running again. On top of that, she was also dreaming about future projects: digging the pond deeper so overwintering is easier, and clearing an overgrown natural stream area choked with buckthorn and fallen trees.
We walked through how we’d help her finish the “grunt work” safely and how to plan those larger projects in stages. In this guide, we’ll walk through the same topics we covered with Linda, so you can use them for your own koi pond and stream.
Replacing Waterfall Tubing Without Stressing Your Fish
Linda had done the hard part: she’d located the old flexible tubing, started digging along the run, and uncovered landscape fabric and tree roots that were in the way. Where she got stuck (literally and figuratively) is where many homeowners do: that last stretch of digging and reconnecting everything so the system is safe and leak-free.
Step 1: Locate and Expose the Existing Line
Most koi ponds with waterfalls use a flexible PVC or rubber tubing that runs from the pump to the top of the falls, often buried under soil, rock, and landscape fabric. When we come out to finish a job like Linda’s, we usually:
- Follow the existing waterfall and stream layout to trace the tubing path.
- Carefully remove rock, mulch, and fabric so we don’t damage the new or existing line.
- Cut away roots that have wrapped around or pressed on the tubing.
Homeowner tip: If you’re starting this project yourself, take photos as you go. It makes it much easier to rebuild the rockwork and stream edges the way you like them.
Step 2: Protect Your Pond While the System Is Off
Linda already had aeration running, which was smart. Any time the waterfall is off for more than a day or two, we recommend:
- Aeration: Use an air pump and diffusers to keep oxygen levels stable for your koi.
- Shade: Provide floating plants or shade to reduce water temperature swings.
- Feeding: Avoid overfeeding while circulation is down to prevent water quality issues.
If you’re unsure how long the waterfall will be off, it’s better to set up aeration early rather than wait until fish are stressed.
Step 3: Install and Test the New Tubing
Once the trench is fully open, we usually:
- Lay out the new tubing in smooth, gentle curves (no tight kinks).
- Use proper fittings and clamps rated for outdoor and pond use.
- Backfill in layers, checking that the tubing isn’t crushed or twisted.
Before rebuilding the rockwork, we always test-run the system, watch for leaks, and confirm strong flow over the waterfalls. When it’s working perfectly, then we finish the cosmetic work.
Digging a Koi Pond Deeper for Safer Winters
Linda had been able to overwinter her fish, but she felt like she was “babysitting” the pond every cold snap. That’s a sign the pond depth is borderline for the local climate.
In colder areas, a deeper pond gives your koi a more stable, insulated zone when ice forms on top. We generally aim for:
- At least 3–4 feet deep in cold-winter regions.
- Deeper zones in one section rather than uniform depth everywhere.
Key Considerations Before You Dig Deeper
When we talk through a pond-deepening project with homeowners, we cover a few essentials:
- Fish safety: Fish usually need to be temporarily moved to a holding tank with filtration and aeration while we drain and deepen the pond.
- Liner and edges: A deeper pond may require a new liner and reworked edges or shelves for plants and rocks.
- Structure: We shape stable shelves and slopes so rocks don’t slide and soil doesn’t collapse.
- Permits: Some municipalities have depth or fencing rules. It’s important to check local codes first.
Homeowner tip: If your budget is tight, we can often phase the work: deepen one main “wintering zone” now, and tackle cosmetic upgrades later.
Clearing Overgrown Stream Banks Without Harming the Ecosystem
Linda’s other future project was a small natural stream running through her property. Over the years it had become overgrown with buckthorn, underbrush, and fallen trees, and she wanted it “cleaned up” without turning it into a sterile ditch.
That balance — tidy but still natural — is exactly how we like to approach stream-bank work.
What We Look At Before Clearing
When we first walk a stream area, we assess:
- Invasive vs. native plants: Buckthorn and similar invasives usually go; beneficial natives often stay or are thinned, not removed.
- Erosion risks: Removing too much at once can destabilize the banks and muddy the water.
- Flow obstructions: Some fallen wood provides habitat; other pieces cause backups and flooding.
Smart Stream-Bank Cleanup Steps
On a typical project, we might:
- Cut and remove invasive shrubs and saplings.
- Selective-prune low or dead branches from healthy trees.
- Remove problem logs while leaving some natural habitat features.
- Install erosion-control fabric or plant deep-rooted natives to stabilize bare spots.
This way, the stream looks cared-for and accessible, but wildlife still has cover and the banks stay stable.
Planning Your Koi Pond Projects in Stages
Like Linda, many homeowners have one urgent need — such as getting a waterfall running again — plus bigger “someday” projects. We often recommend a staged approach:
- Handle the urgent functional work first (pump, tubing, leaks, aeration).
- Plan structural upgrades next (deepening the pond, reshaping edges, improving filtration).
- Finish with habitat and aesthetics (planting, lighting, stream-bank restoration).
This keeps your fish safe, spreads costs out over time, and lets you enjoy each improvement instead of living in a never-ending project zone.
If you’re staring at a half-dug trench, a shallow pond, or an overgrown stream, you’re not alone. We help homeowners like Linda every season, and we’d be happy to walk your yard with you, talk through priorities, and build a plan that fits your timeline and budget.