What to Do With a Half-Finished Landscaping Project
Stuck with a half-finished landscaping project? Learn how to safely fix irrigation issues, clean up debris, and create a plan to finally finish your yard right.
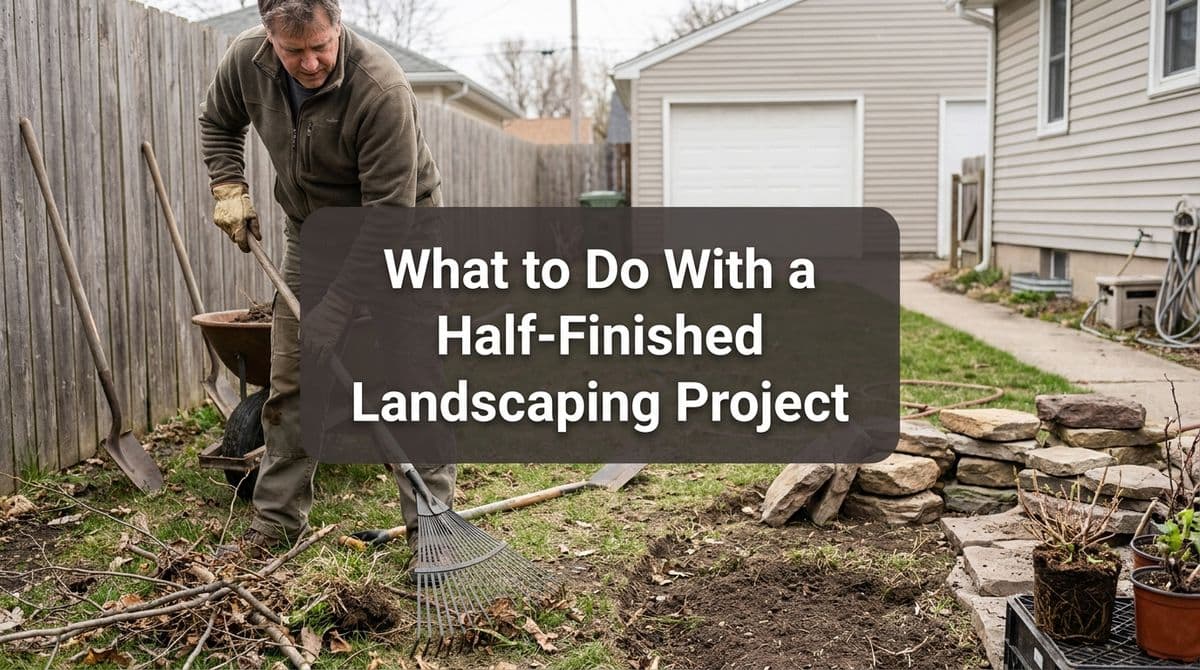
When a Landscaping Project Gets Left Half-Finished
We recently got a call from a homeowner — let’s call her Rachel — who was feeling stuck and frustrated. Another landscaper had started a big project in her front and back yard, then disappeared before the work was finished.
Rachel told us there was an uneven sprinkler system in the backyard, half-done clean up, and tree work she wasn’t sure was safe to finish on her own. She didn’t just want it patched together — she wanted the whole property done properly, front and back, so it didn’t look like a construction zone forever.
We see situations like Rachel’s more often than you’d think. If you’re staring at exposed irrigation lines, torn-up lawn, and piles of debris, here’s how we approach it — and how you can safely move forward.
Step 1: Make the Site Safe Before You Do Anything Else
The first thing we ask, just like we did with Rachel, is: Is anything unsafe right now? Before you worry about finishing the design, you need to stabilize the space.
Walk your yard and look for:
- Open trenches or holes from sprinkler or drainage work
- Exposed pipes, wires, or valve boxes sticking out of the ground
- Loose pavers, rocks, or edging that could trip someone
- Partially cut branches hanging overhead
While you’re waiting for a professional to come out, you can:
- Mark hazards clearly with flags, cones, or even bright tape so family and visitors avoid those areas.
- Temporarily cover trenches with sturdy boards if you must cross them, or rope off the area entirely.
- Turn off irrigation zones that have exposed lines or heads to prevent leaks and muddy sinkholes.
With Rachel, we scheduled an on-site visit as quickly as possible so we could walk the property with her, identify hazards, and prioritize what needed to be secured the same day.
Step 2: Assess the Existing Irrigation Work
One of Rachel’s biggest concerns was the sprinkler system in the backyard that “needed to be leveled.” We hear that a lot when a system is left mid-project. Usually it means heads are uneven, pipes are too shallow, or the grade was changed without adjusting the system.
When we inspect a half-finished irrigation job, we typically:
- Locate and map all existing lines and heads so we know what’s there before we dig.
- Check depths of pipes to ensure they’re buried deep enough to avoid damage and freezing (in colder climates).
- Test each zone to see which heads are working, clogged, or misaligned.
- Evaluate coverage so you don’t end up with dry patches and swampy spots.
If you’re trying to understand your own system before a pro arrives, you can:
- Turn on one zone at a time and take notes or photos of what works and what doesn’t.
- Mark sprinkler heads with flags or stakes so they’re easy to find later, even if grass grows up.
- Note any low spots or puddles that appear when it runs — those usually signal grade or leveling issues.
Just be careful not to dig around pipes or valves unless you know what you’re looking at. A good irrigation tech can usually fix and level things far more quickly (and with fewer surprises) than a homeowner working blind.
Step 3: Level and Repair Sprinkler Heads the Right Way
“Leveling” a sprinkler system often comes down to getting each head set at the right height and angle for the final lawn or landscape grade. When we fix a half-done system like Rachel’s, our process usually includes:
- Setting proper height: Heads should sit just at or slightly below finished grade — not sticking way up, and not buried.
- Ensuring solid backfill: We backfill and compact soil around each head so it won’t tilt or sink later.
- Adjusting spray patterns: Nozzles get aimed to avoid spraying fences, windows, or sidewalks.
- Checking for leaks: Every repair gets pressure-tested so you’re not surprised by a soggy lawn a week later.
If you tackle minor adjustments yourself, turn off the water first, and never force a head that doesn’t want to move — that’s how buried connections crack. For anything more than a simple nozzle tweak, it’s worth having an irrigation professional step in, especially on a system someone else started.
Step 4: Clean Up Debris and Incomplete Tree Work Safely
Rachel also asked if we handle tree cutting. That’s another common piece of the “unfinished” puzzle — someone starts pruning or felling trees, then leaves a mix of stumps, branches, and brush.
Here’s how we suggest approaching it:
- Don’t touch partially cut branches overhead. Those can be dangerous “hangers” that need proper rigging to remove.
- Gather surface debris like small branches, leaves, and scrap lumber into piles for chipping or hauling.
- Keep piles off the lawn if possible. Long-term piles can kill grass and create pest habitats.
- Mark stumps and cut roots so no one trips over them, especially in low light.
We always recommend leaving large tree removals, high cuts, and work near power lines to trained crews with the right equipment. What looks “almost done” can quickly turn into a serious accident if it’s finished without proper gear and experience.
Step 5: Create a Plan to Finish the Whole Yard, Not Just Patch It
When a project is left halfway, it’s tempting to say, “Let’s just fix what’s broken.” But like with Rachel, we encourage homeowners to think about the whole property so it doesn’t look like two different landscapers fought over it.
During our on-site visit, we typically:
- Walk front and back yard with you to understand your original goals.
- Identify what’s worth keeping from the previous work and what should be redone.
- Take measurements and photos so we can design a cohesive finish.
- Prioritize phases: safety and functionality first (irrigation, grading), then planting and aesthetics.
This approach protects the money you’ve already spent, while making sure the final product looks intentional — not like two projects stitched together.
Step 6: Choosing a New Landscaper After a Bad Experience
If another contractor left you hanging, it’s completely normal to feel hesitant about bringing in someone new. A few tips we share with homeowners in Rachel’s situation:
- Ask for a site visit before any pricing — we always come out to see conditions in person.
- Request a written scope of work that clearly explains what’s being fixed, what’s being finished, and what’s brand new.
- Clarify timelines and how communication will work if weather or surprises cause delays.
- Check that they handle irrigation, clean up, and tree work (or coordinate trusted partners) so you’re not juggling multiple companies.
With Rachel, we scheduled an early appointment so she could walk us through everything before work. From there, we put together a plan to make the yard safe, fix the sprinkler issues, clean up debris, and finish the front and back so it finally matched her vision.
Need Help Saving a Half-Finished Landscaping Project?
If you’re staring at a torn-up yard, exposed sprinklers, and leftover debris, you’re not alone — and you don’t have to start over from scratch. A thoughtful assessment, targeted repairs, and a clear plan can turn that half-finished mess into the yard you wanted in the first place.
We’re always happy to come out, walk the property with you, and talk through options to safely fix irrigation issues, clean up, and finish the job the right way.